Rooting the LG Optimus P970 (Black)
July 10, 2012
There are many methods available on the internet for rooting this phone but understandably not all of them will work on every phone. And it's always good to bear in mind that the moment you root the device, your warranty goes out of the window.
And remember, this is something you do on your own volition. If you end up with a bricked phone, blame yourself. This stuff is not for the faint-hearted. Only take the risk if you are willing to end up with a bricked phone.
That said, it's something that many users like to do.
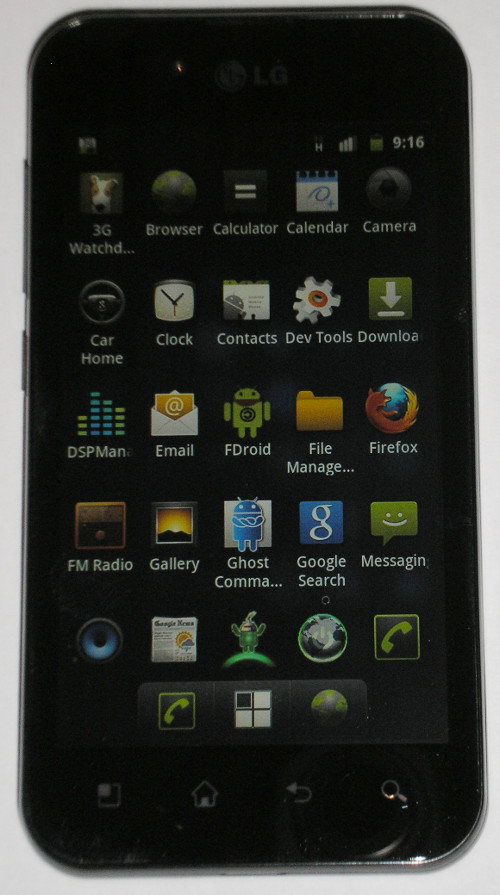
(Pic on right shows my LG-P970 with the latest stable version of CyanogenMod as of July 10, 2012.)
I wrote this guide because most of the instructions on the web are cryptic and, often, in poor English. And the files needed are all over the place; quite often they come along with some advertising material or the other.
The phone I bought (in March 2012) had Android 2.2 (Froyo) and it got upgraded to 2.3 (Gingerbread) after two months. The firmware version was 20b by the time I rooted it.
The LG mobile drivers need to be downloaded and installed on your Windows computer (XP is preferable) so that you can connect your phone by USB to the computer.
I tried to root my phone using Gingerbreak but that just ran and ran and did nothing. To try this out, you need to copy the Gingerbreak file over to your phone's SD card and then just tap on it. Then I tried SuperUser (a Windows app) which you run after connecting your phone to the PC. This did not work for me either.
My third attempt worked. I succeeded by using the Smart Flash Tool. Your mileage may vary.
First thing, you need a computer running Windows. My experience is that XP is preferable; at times you get weird errors on Windows 7. Again YMMV.
You can download the Smart Flash Tool here.
I used two patch files one after the other; note that I used them in sequence. If you look at the names, you'll note that one is for phones which have the firmware version 20E and the other is for firmware version V20o.
I first used the V20o patch; that did not work. I then used the V20e patch; that worked and I was able to use the V20o patch after that.
The third thing you need is the superuser file and that is here.
Connect the phone to the computer and move the superuser.zip file to the phone's SD card.
You will need WinRAR to unzip the other files which you download. Get it here.
Now switch off your phone. Hold down the volume up button (the top half of the volume control on the left-hand-side of the phone). Connect the phone to the computer using the USB cable.
You will see "S/W upgrade please wait while upgrading" on the phone.
Extract the Smart Flash Tool and run the program.
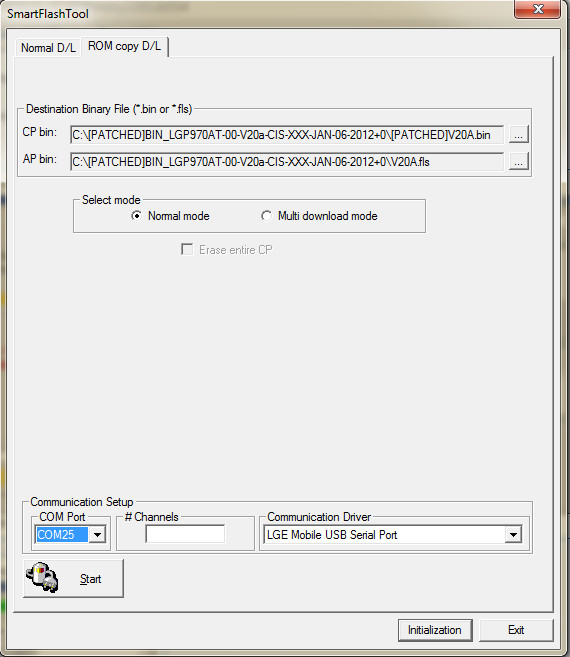
You will get an interface that looks like the one below:
Extract the patch file which is suitable for you.
Select ROM copy D/L.
For CP bin, select the file that ends .bin. For AP bin, select the file that ends in .fls
Make sure you select the COM port and the Communication driver - there will only be a single choice for each.
Click Start. The program will run and when it is over your phone will reboot into recovery mode.
Now choose "Wipe all data". Then choose "Factory reset". You can use the four icons on the bottom of your phone to navigate through the menus in recovery mode.
After this is over, choose "Install zip from SD card". Select the superuser.zip file which you moved across earlier. You did, didn't you?
Reboot the phone by choosing "reboot system now".
Check your phone after it reboots and see if the superuse app is installed. If you can see it there, then your phone has been rooted successfully.
If you want to install CyanogenMod 7 Android 2.3.5 instead of the factory version of Android, you will find a nice detailed guide here.
Contact me (remove the nospam before emailing).
previous next