Installing Debian on a Cobalt Qube
September 2, 2005
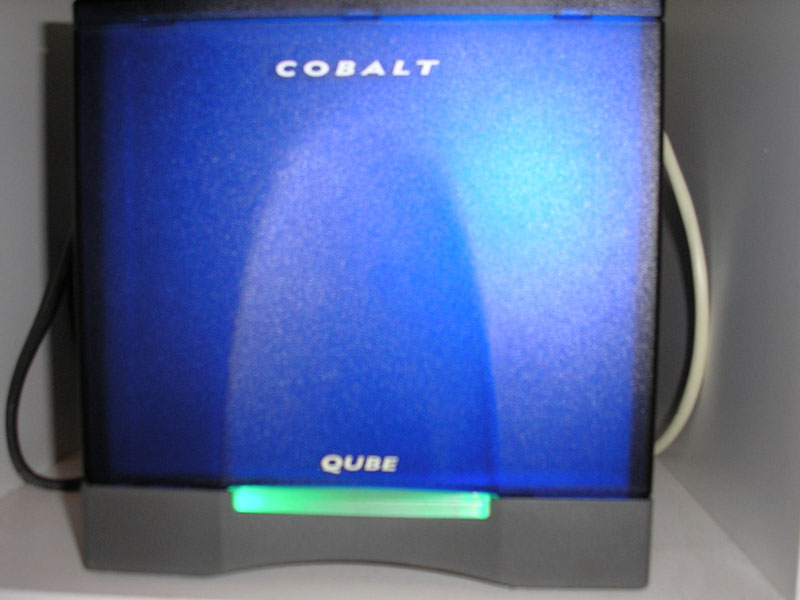
The Cobalt Qube is a nice piece of hardware if you are lucky enough to be gifted one, as I was. It is too expensive for a poor migrant (like me) to buy, even second-hand - the new price used to be $US999. It is small, has plenty of drive space and is actually some kind of overkill for a home server.
But when the server you are using boasts a dodgy switch (which means that you have to reinsert the plug into the wall point every time the mains power cuts out) and a drive that is too small, preventing you from recompiling a kernel, then the gift is something that's more than welcome.
My box came from Japan so the customised version of Red Hat which comes on the machine was in the same language. I needed to replace it if I was to make use of it.
Given that the Qube has no CD-ROM drive or floppy, a network install is the only way of installing an operating system.
As I run Debian on my workstation and also on the box that used to act as my server, there was no need to look further. A version of the new release, Sarge, has been ported to the MIPS processor; at the time I installed it, there were only testing and unstable branches.
One would not normally run the testing branch of the distribution on a server, but by the time I was planning to install Sarge, it was well on the way to becoming the stable branch so only bug-fixes were being uploaded.
Thanks are due to my colleague and friend, Peter Giorgilli, for the server and many helfpul hints; and Martin Michlmayr, the former head of the Debian GNU/Linux Project, whose guide to installing Debian on the MIPS platform was invaluable. Martin was also kind enough to respond to my emails when I got stuck.
Most of what is detailed below is taken from Martin's guide; the difference is that I've dumbed down things a lot so that even a relative novice can take up such a task without quaking too much in his or her boots.
To install Debian on the Cobalt Qube 2, you will need a null modem cable, a crossover cable, a second PC (which will be called the server henceforth), and the Cobalt Qube 2, of course.
Choose a private IP range for your machines - I used 192.168.0.1 for the server and 192.168.0.2 for the Cobalt. Additionally, remember that you can boot the Cobalt from the server but you have to download Sarge from the internet to install it on the Qube so you need to have some means of broadband internet access. Else you may need to sleep in that room for the next few days!

The instructions are Debian-specific but as long as you can get an NFS and DHCP server installed on the server, it will do the job. Connect the machines using the crossover cable and fire up your server.
First you need to install the NFS and DHCP servers on the box we call the server.
On Debian, you can assume root status in a terminal and type:
apt-get install nfs-user-server dhcp3-server
The next step is to configure the NFS and DHCP servers.
The NFS server will need to export a directory so that the Cobalt can access it.
Edit the /etc/exports file and add a line like this:
/nfsroot 192.168.0.0/255.255.255.0 (ro)
I had to also add a line no_root_squash to this file.
As mentioned earlier, the IP used can be different. However, the firmware of the Cobalt expects the boot files to be in /nfsroot so you cannot change this.
Edit the /etc/dhcp/dhcpd.conf file and add the following:
host cobalt {
hardware ethernet
00:10:e0:0:be:5e
(the MAC address of the NIC on the Cobalt)
fixed-address 192.168.0.2;
option
routers 192.168.0.1;
next-server 192.168.0.1;
option
root-path "/nfsroot";
filename "default.colo";
option host-name "cobalt";
}
Here I am assuming that you have chosen the host name "cobalt" for the Qube. Fixed-address is the IP of your Cobalt Qube.
You obtain the MAC address of the ethernet card by using either tcpdump or ethereal. If you are using tcpdump, the following command in a terminal should give you the MAC address of the ethernet card of the Cobalt to which the server is connected:
tcpdump -e -i eth0
This is assuming that your server is connected to eth0 on the Qube (see diagram above to find out which is the primary (eth0) and secondary (eth1) network interfaces.
Start up the Qube and hold down both the cursors at the same time so that it looks to boot from the network. It should say "Net booting" else you have been too slow to press both cursors together.
After it starts, you should be able to see entries like this:
23:49:02.001492 00:10:e0:00:be:5e Broadcast ip 406: 0.0.0.0.bootpc > 255.255.255.255.bootps: xid:0x61e38099 secs:5 file ""[|bootp]
The second entry is your MAC address.
Or you can use ethereal; fire it up, select eth0 as the interface to watch, let a few packets pass and then have a look at the output to get the MAC address of the ethernet card.
Now download the files needed for starting the installation to the server:
cd $HOME
wget
http://ftp.debian.org/debian/dists/testing/main/installer-mipsel/rc3/images/cobalt/nfsroot.tar.gz
cd /
zcat ~/nfsroot.tar.gz | tar -xvf -
The changes made to the DHCP and NFS servers should take effect before the installation, so these need to be restarted. As root, type:
/etc/init.d/nfs-user-server restart
/etc/init.d/dhcp3-server restart
After this, the actual installation can start.
Make sure that your server's /etc/hosts file has the correct entries for the server and the Qube 2:
192.168.0.1 cobalt.yourdomain.com cobalt
192.168.0.2 server_name.domain.com server_name
Also make sure that your hosts.allow and hosts.deny file are okay - else the two boxes (Qube and server) will not be able to see each other.
Connect the Qube to the server using the null modem cable. Open a terminal on the server and start a terminal emulation program like screen or minicom. I used screen.
screen /dev/ttys0 115200
Now start the Qube and hold down both cursors so that it boots from the network. On the LCD panel on the Qube you should see:
Net booting
After some time, you should see a boot menu on the LCD:
Network (NFS)
Network (TFTP
Move the cursor key to the first option and press the e (enter) key.
Soon the LCD will show Loading Debian-installer
The Debian installation procedure is here and following it is the safest option.
The boot partition for the Qube is required to be ext2 revision 0 and this should be the first primary partition. You can make this partition manually but the best option is to use the automatic partitioning guide and let it make the partitions for you.
The bootloader which is installed is called CoLo. It does not replace the existing firmware boot loader but calls it at boot time.
Once the base installation is done, it will reboot. You will then have to choose the net option to install the rest - as I pointed out earlier, you need to have internet access and at least a 256kbps connection else you will end up sleeping next to the Cobalt while it downloads the necessary software.